This post may contain affiliate links which means I will get a commission if you make a purchase at no additional cost to you. As an Amazon Associate I earn from qualifying purchases. Please read my disclosure for details.
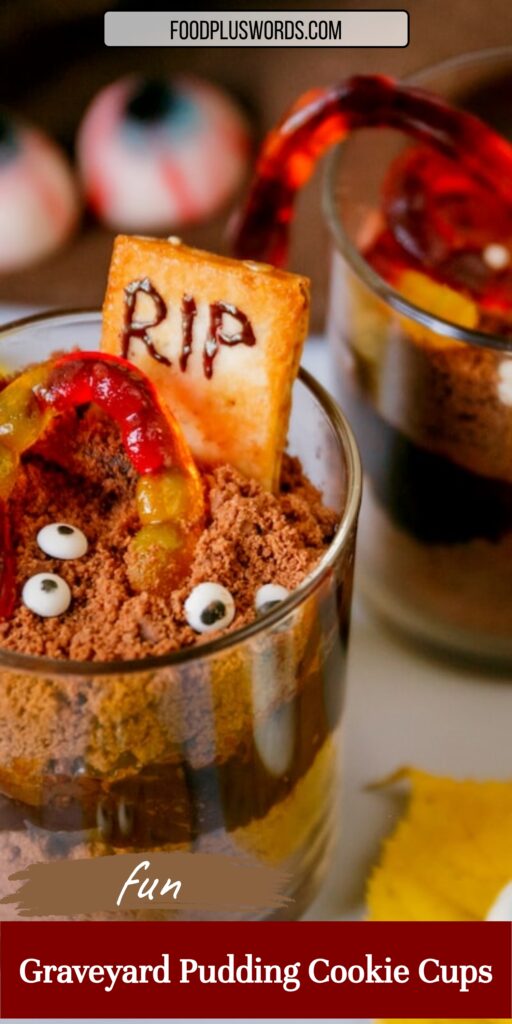
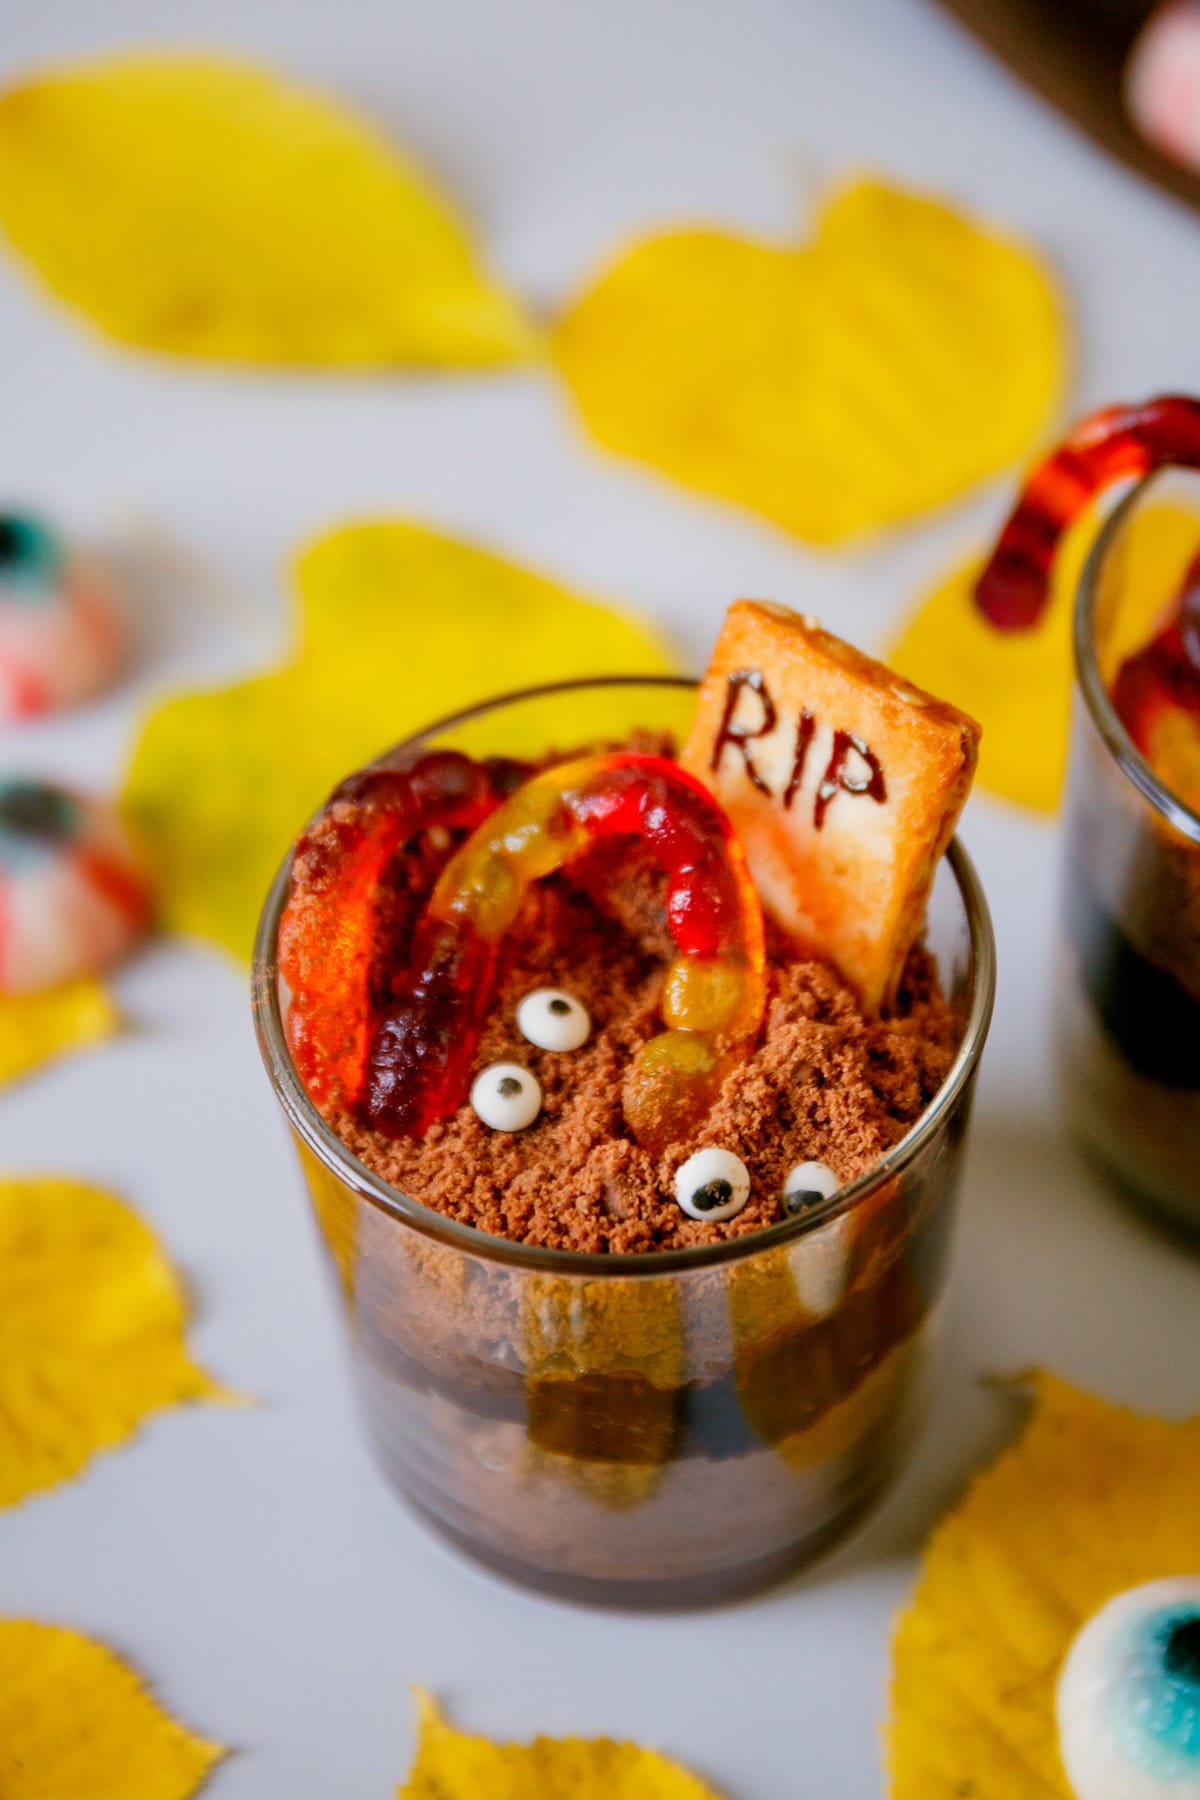
These Halloween pudding cups are the easiest treat for your spooky party. With layers of cookie dirt, mousse, and candy decor, they’re devilishly delightful!
These graveyard pudding cups are so easy to make, it’s almost scary.
To make them, just crush some Oreo cookies, whisk pudding with milk, and decorate cookies and chocolates as gravestones and ghosts with an edible marker. Forget pumpkin carving, these pudding cups are just as fun to make with your family!

WANT TO SAVE THIS RECIPE?
Need more Halloween treats that are more fun than tricky? You’ll love our pumpkin snack board and Cookie Monster cupcakes!
Why You’ll Love These Graveyard Pudding Cups
- These graveyard dirt cups are the perfect spooky treat for your Halloween party!
- Easy and fun to make, these customizable Halloween graveyard dessert cups are a guaranteed hit with kids and adults alike.
- Served in their own containers, these graveyard pudding cookie cups are ideal for parties and portion control, wink.

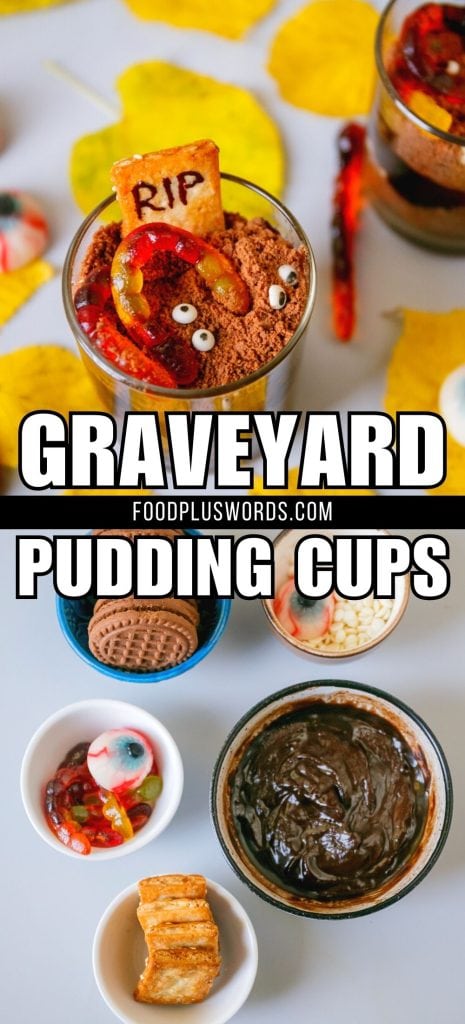
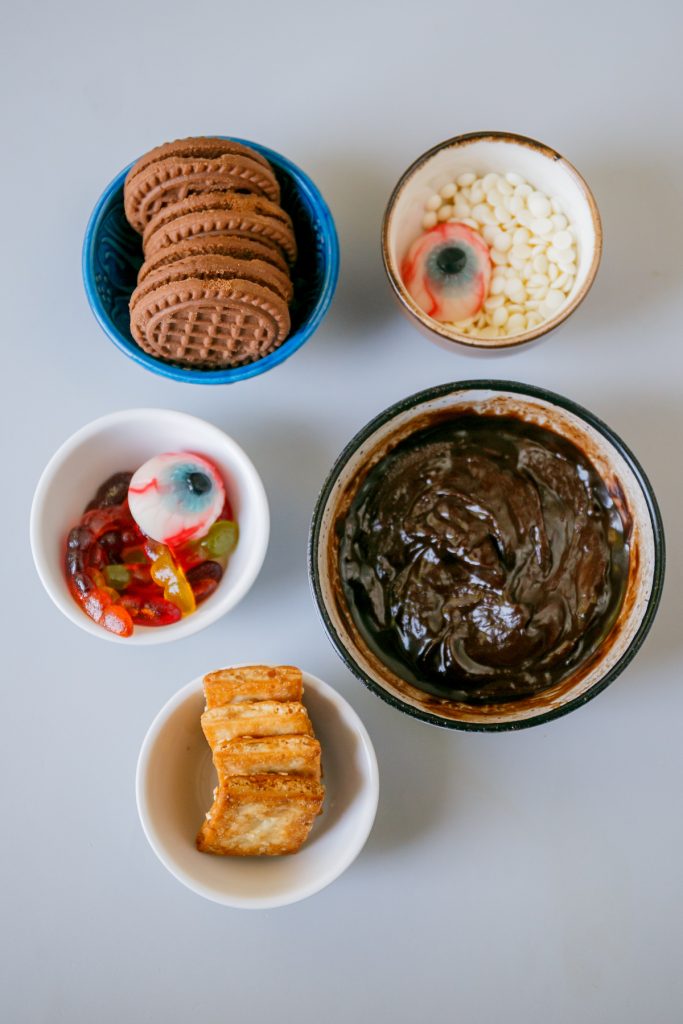
Ingredients
Chocolate sandwich cookies – Ever dreamed of eating dirt as a kid? Crushed Oreos make it possible.
Instant chocolate pudding mix and whole milk – For the chocolate mousse layer. Make sure your milk is very cold to help thicken the chocolate instant pudding mix!
Cookies – Select cookies with a size and shape that will suit gravestones. Milano cookies make a great option!
Gummy worms, white chocolate chips, and candy eyeballs – For decorating the Halloween dessert cups.
Black edible marker – For adding the details on the cookie tombstones and white chocolate chips.
Ingredient Additions & Substitutions For Halloween Pudding Cups
Black decorating gel
Instead of a black food coloring marker, you can also decorate the cookies and chocolate chips with a black decorating gel.

Spooky decorations
Don’t limit yourself to gummy worms and candy eyeballs! These graveyard pudding cups are calling for Halloween candies like candy spiders, bone-shaped sprinkles, and zombie candies.

Edible grass
Instead of dirt as the final layer, why not top your Halloween pudding cups with green-tinted shredded coconut to mimic grass? Just place the shredded coconut in a Ziploc bag, add a few drops of green liquid food coloring, and shake to distribute the color evenly.

Tips For Making This Recipe
Turn Instant Pudding into Chocolate Mousse
To make the mousse for these graveyard pudding cups, whisk the chocolate pudding mix and cold milk together for 2 minutes until the mixture thickens. You can also fold in 8 ounces of thawed Cool Whip for a fluffier mousse.
Skip the Food Processor
Instead of pulling out the food processor, place the chocolate sandwich cookies in a Ziploc bag and crush them with a rolling pin. Easy peasy!
Serving Tips
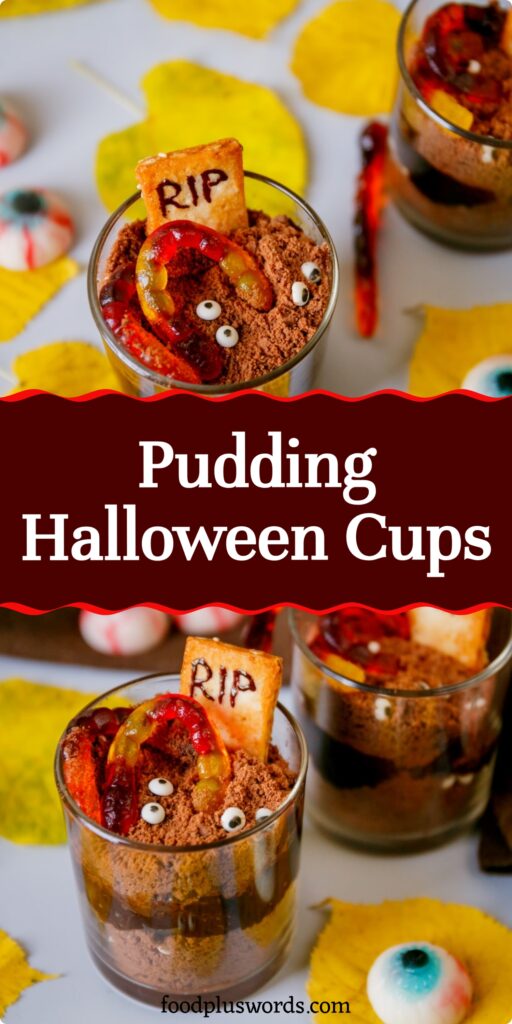
Show off the layers of your Halloween pudding cups in clear plastic cups, glasses, or mason jars! Around 6 to 8 ounces is the perfect size for the Oreo dirt, chocolate pudding, and decorations.

Halloween Dessert Cups FAQs
Can I make these Halloween dirt pudding cups ahead of time?
Of course! However, I’ll decorate them right before serving to keep the cookies and candies from turning mushy. You can prepare the pudding 3 to 5 days ahead. Just cover it with plastic wrap. You can also decorate the cookies up to 3 days in advance, but only add them when you’re ready to serve the Halloween graveyard pudding cups.
Do graveyard dirt cups need to be refrigerated?
Yes! In fact, chilling these graveyard dirt pudding cups for at least 2 hours will give them the best flavor and texture as the cookies soak up the pudding mixture. For leftovers, you can cover them with plastic wrap and store them in the fridge for up to 3 days before they turn mushy.
Can you freeze Halloween pudding cups?
I don’t recommend freezing these graveyard pudding cups because it will just change the texture of the cookies and decorations.
Why is my pudding grainy?
If the instant pudding mix isn’t completely dissolved, your pudding will turn out grainy. You want to whisk the chocolate pudding mix with cold milk for at least 2 minutes!
Can you use vanilla pudding in place of chocolate?
Absolutely! You can even add a few drops of orange food coloring to your vanilla pudding to really match the Halloween theme of these graveyard cups.

More Delicious Halloween Recipes
- Black Velvet Cake
- Monster Pretzel
- Cookie Monster Cookies
- Vegan Pumpkin Cheesecake Bars
- Spooky Slasher Cookies
I found this recipe for Halloween Cake Pops that I HAVE to try!
Yay! You have made it this far, and I am so glad! Hey – If you make this recipe, I’d love for you to give it a quick review & star rating ★ below.
Graveyard Pudding Cups
Ingredients
- 1 family-size pack chocolate sandwich cookies
- 1 3.9-oz pack instant chocolate pudding mix
- Cookies for the tombstones
- Gummy worms for decorating
- White chocolate chips for decorating
- Candy eyeballs
- Black food coloring marker
- 2 cups cold whole milk for the pudding
Instructions
- Make the dirt by crushing the chocolate cookies into fine crumbs. Check the notes for the pudding.

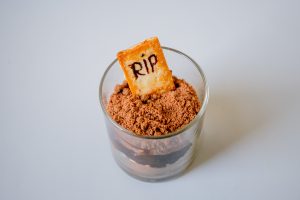
- For the tombstones, write “RIP” on the cookies using an edible marker. Draw eyes on the white chocolate chips as well.
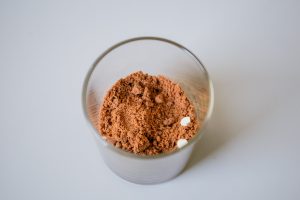
- Add a layer of cookie crumbs to the bottom of each cup, then sprinkle white chocolate chips on top.
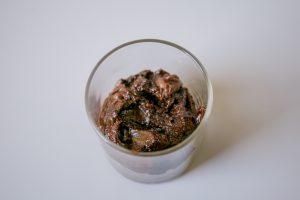
- Pour the prepared pudding over the cookie crumbs.
- Add another layer of crushed cookies over the chocolate pudding and place a cookie tombstone in each cup.
- Finish by decorating with gummy worms, candy eyeballs, and extra white chocolate chips.


Notes
- To make the mousse for these graveyard pudding cups, whisk the chocolate pudding mix and cold milk together for 2 minutes until the mixture thickens. You can also fold in 8 ounces of thawed Cool Whip for a fluffier mousse.
- Instead of pulling out the food processor, place the chocolate sandwich cookies in a Ziploc bag and crush them with a rolling pin. Easy peasy!
- Show off the layers of your Halloween pudding cups in clear plastic cups, glasses, or mason jars! Around 6 to 8 ounces is the perfect size for the Oreo dirt, chocolate pudding, and decorations.
Nutrition
PIN FOR LATER!